Create external cloud storage for a catalog
This article describes how to create external cloud storage for Apache Iceberg™ tables for the following cloud storage providers:
Amazon S3
Cloud Storage from Google
Microsoft Azure container
Before you can create an internal catalog in your Snowflake Open Catalog account, you must first create and configure external cloud storage for it.
Create an Amazon S3 bucket
Sign in to the AWS Management Console.
On the home dashboard, search for and select S3.
Select Create bucket.
For Bucket name, enter a name for the bucket.
Configure the settings for your storage bucket or use the default settings.
Select Create bucket.
Search for and select the storage bucket you created.
To create a folder, select Create folder.
Note
We recommend creating this folder as a best practice.
For Folder name, enter the name of the folder where you want to store Apache Iceberg™ tables, and then select Create folder.
Select the folder you created.
Select Copy S3 URI, and then store the URI for later use.
Note
When creating a catalog in Open Catalog, you enter the S3 URI in the Default base location field.
Create a Cloud Storage bucket
Sign in to the Google Cloud console as a project editor.
In the navigation menu, select Solutions > All products.
Under Storage, select Cloud Storage.
Select Create.
Under Get Started, enter a name for your Cloud Storage bucket.
Optional: Configure the settings for your storage bucket.
Select Create.
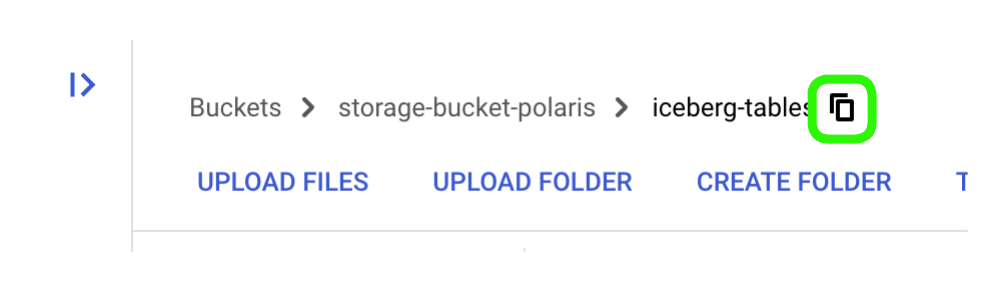
On the Bucket details page, select CREATE FOLDER.
Enter a folder name where you want to store Apache Iceberg™ tables, and then select Create.
On the Bucket details page, next to the name of the folder you created, select Copy, and store the path for later use.
Note
When creating a catalog in Open Catalog, you enter the path to the folder you created in the Default base location field.
Create a Microsoft Azure container
To create a Microsoft Azure container for your Apache Iceberg tables, use one of the following Azure cloud storage services:
Blob storage
Data Lake Storage Gen2
General-purpose v1
General-purpose v2
These services are the Azure cloud storage services that Open Catalog supports for storage integrations. A storage integration is an Open Catalog object that stores a generated identity and access management (IAM) entity for your external cloud storage and is created when you create a catalog.
Step 1: Create a storage account
Sign in to Azure.
On the home dashboard, search for and select Storage account.
Select + Create.
For Resource group, select a resource group for your storage account or select Create new to create a new resource group.
For Storage account name, enter a name for your storage account.
Optional: Enable hierarchical namespace to use the storage account for Azure Data Lake Storage Gen2 workloads. For more information, see Create a storage account.
Optional: Configure the settings for your storage account.
Select Review + create.
Select Create.
Step 2: Create a container in your storage account
In Azure, navigate to the storage account you created.
From the menu on the left, Select Data storage.
Under Data storage, select Containers.
Select + Container.
Enter a name for your container, and then select Create.
Copy and save the name of your container. You need to specify this name when you create a catalog in Open Catalog.
Optional: If you’re using a hierarchical namespace and need to add a directory:
a. Select the container you created.
b. Select + Add Directory.
c. Enter a name for the directory, and then select Save.
d. Copy and save the name of this directory. You need to specify this name when you create a catalog in Open Catalog.
Step 3: Copy the endpoint path to your container
In Azure, navigate to the storage account you created.
From the menu on the left, select Settings.
Under Settings, select Endpoints.
Copy and store the path to the primary endpoint for your container:
If you’re using blob storage, under Blob service, select the Copy to clipboard icon for the Primary endpoint: Blob service field.
If you’re using Azure Data Lake Storage, under Data Lake Storage, select the Copy to clipboard icon for the Primary endpoint: Data Lake Storage field.
Note
When creating a catalog in Open Catalog, you enter the path to the primary endpoint for your container in the Default base location field. The steps for creating a catalog in Open Catalog include instructions for how to format this path into the required format for the Default base location field.